
Melbourne’s Leading Concrete Pouring Specialists
Oops! Something went wrong while submitting the form.
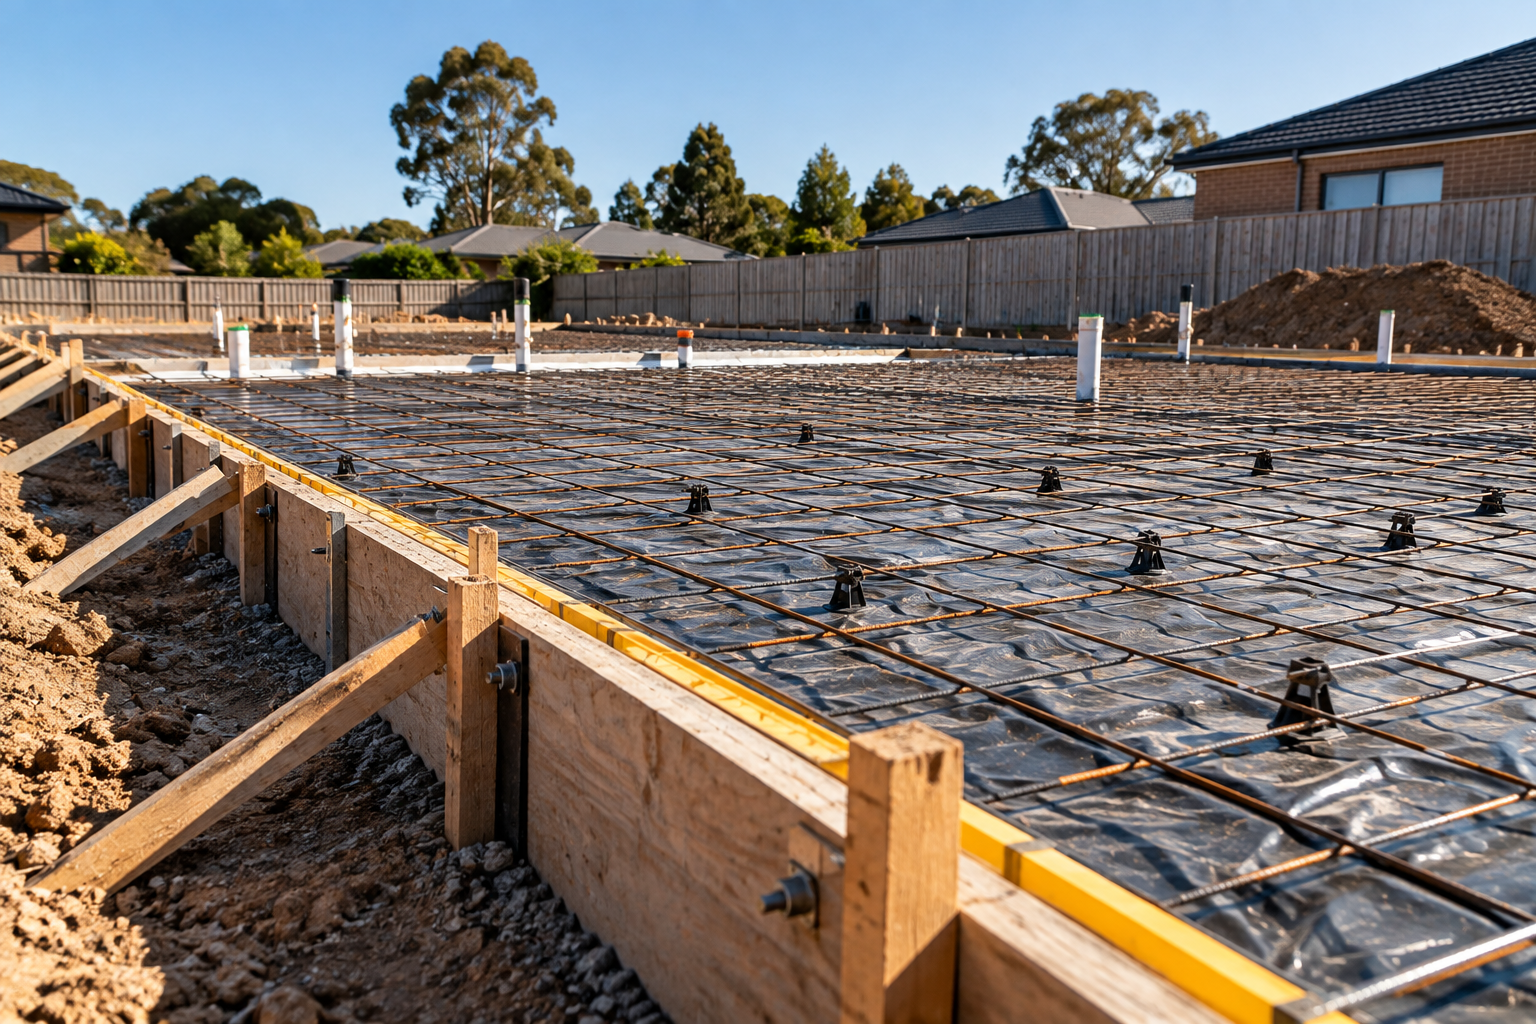
A concrete slab calculator answers one question: how many cubic metres does this slab consume. That is multiplication, and it takes seconds. The number that matters on site is different. It is how much concrete to order, which is the calculated volume plus everything the calculation leaves out.
This guide covers both. Run the calculator for the theoretical figure, then work through what sits outside it, so the truck that arrives carries the right volume the first time.
Concrete volume is area multiplied by depth. Express the depth in metres and the answer comes out in cubic metres, which is how concrete is batched, sold and delivered.
Volume (m³) = length (m) × width (m) × thickness (m)
A 10 metre by 8 metre slab at 100 mm gives 10 × 8 × 0.1, which is 8 cubic metres. Nothing about that changes with slab size or site.
Measure the slab footprint, not the building footprint. They are not always the same once you account for the slab edge, and a 100 mm discrepancy carried around a perimeter adds up.
Work from the structural drawings rather than a tape across the pad. Set-out errors get built into the volume before anyone orders anything.
Break the shape into rectangles, calculate each one separately, then add them. This is faster and less error prone than trying to treat an L-shaped or stepped slab as a single figure.
Where the slab steps down in thickness across the footprint, treat each thickness zone as its own calculation. Averaging the thickness across a stepped slab is one of the more common ways a pour comes up short.
Slab edges rarely stop at the line on the plan. Rebates, set-downs at door thresholds, upstands and thickened edges all sit outside a simple length by width figure.
Mark them on the drawing before you start measuring, and calculate each one as a separate volume.
Thickness is not a builder's choice. The engineer sets it against the site classification, the imposed loads and the slab system.
A 150 mm slab consumes half again the concrete of a 100 mm slab over the same area, so the thickness the engineer specifies moves the order more than any other single input. A 20 mm error on a 150 mm slab is a 13 per cent volume error, which on a large pour is the difference between finishing and calling for a second truck.
Read the thickness off the footing and slab plan, not the architectural drawings.
Thickness is specified in millimetres and volume is sold in cubic metres, so the conversion is where most arithmetic errors happen. Divide millimetres by 1,000 to get metres before you multiply.
Each square metre of slab consumes a volume equal to its thickness in metres. That gives a shortcut worth memorising:
Multiply your slab area by the figure in the middle column and you have the theoretical volume without touching a calculator.
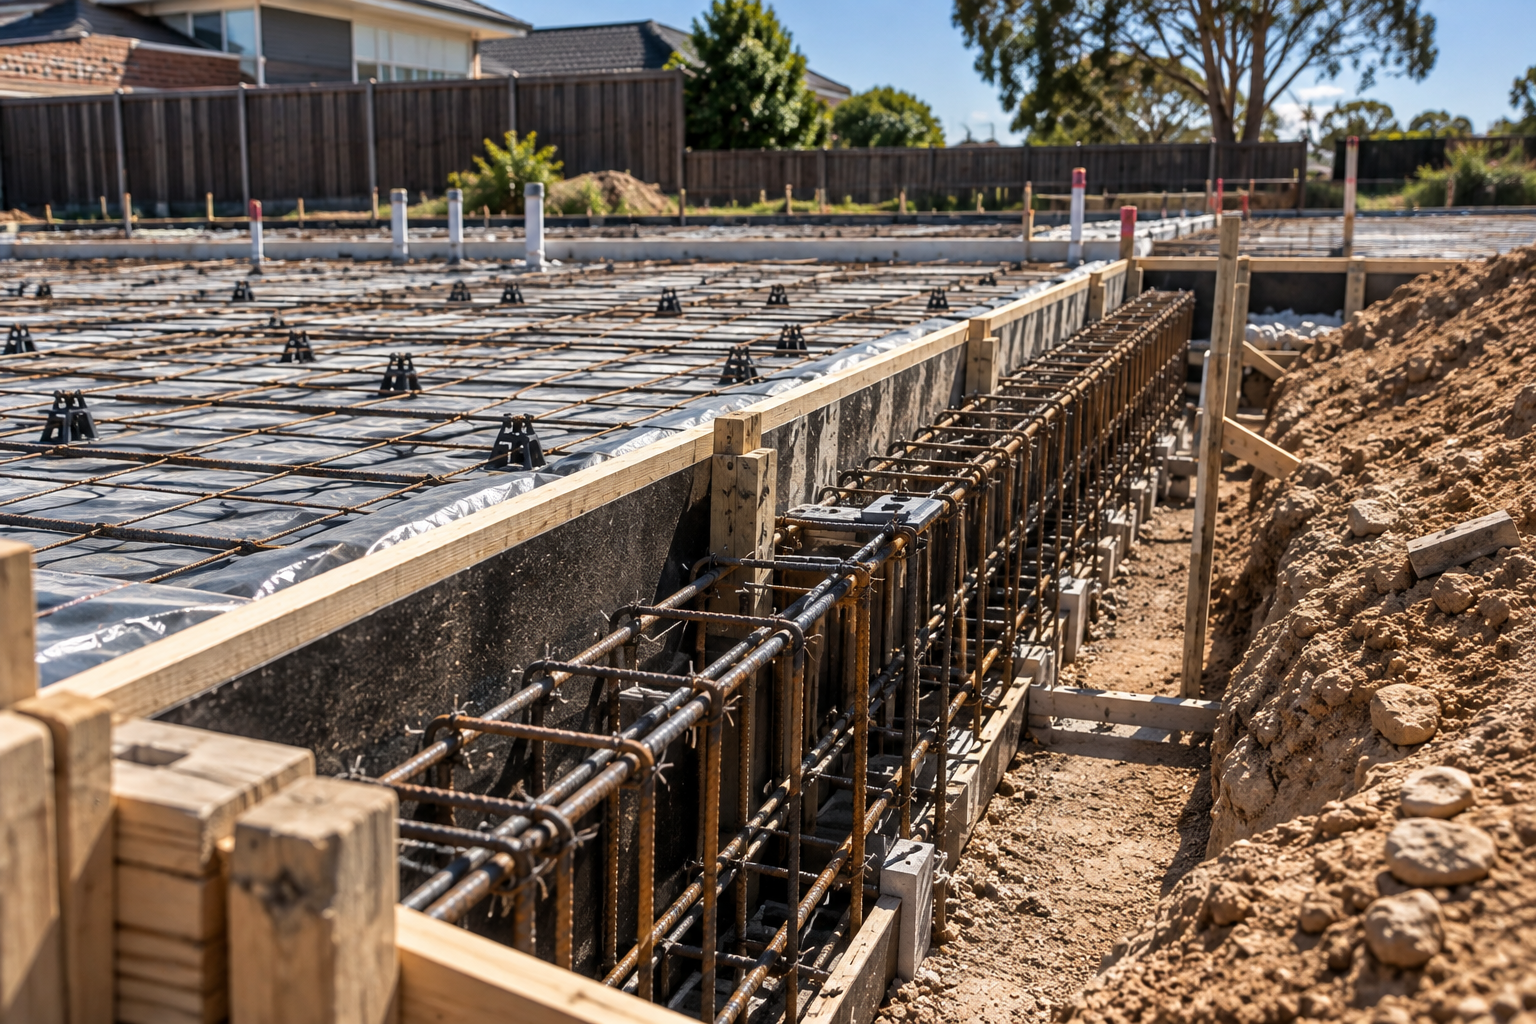
A slab on ground is not a flat plate. Edge beams, internal beams and thickenings under load-bearing walls all sit below the nominal slab thickness, and every one of them consumes concrete the flat calculation does not account for.
Take the beam dimensions from the footing plan, calculate each beam as length by width by depth, and add them to the slab figure. Where beams intersect, count the overlap once rather than twice.
On a typical stiffened raft slab the beams are a material share of the total pour, not a rounding error. Skipping them is the most expensive mistake on this list.
Flat slab volume plus beams and thickenings, as above. The calculation is additive and straightforward.
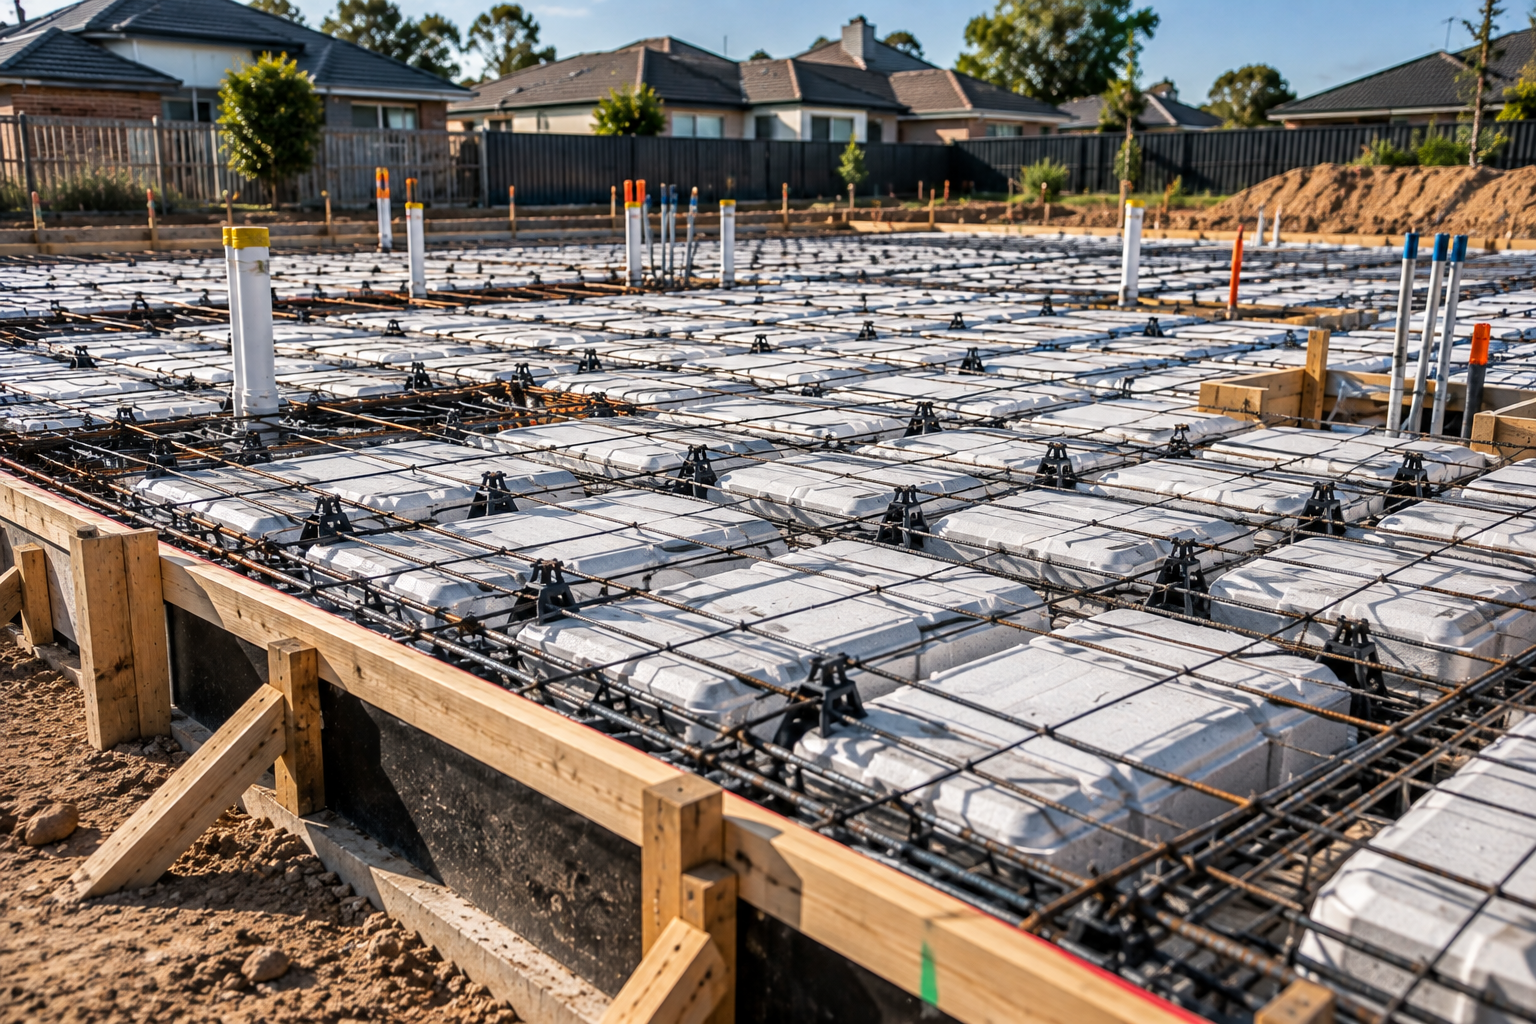
Pods displace concrete, so here the calculation is subtractive as well as additive. Work out the volume of the slab envelope, then deduct the volume the pods occupy, then add the ribs and edge beams back in.
Pod dimensions and spacing come from the slab layout drawing. Two waffle slabs with the same footprint and different pod layouts do not consume the same concrete.
Volume is calculated the same way, but the pour sequence and the stressing programme change how the volume is delivered and when. The tendons, ducting and anchorages occupy space that a straight geometric calculation ignores.
Post-tensioned pours are also less forgiving of running short mid-pour, because a cold joint in the wrong place is a design problem rather than a finish problem.
The theoretical volume assumes the excavation is exactly to level, the formwork does not move, and nothing is lost between the truck and the slab. None of that holds.
An allowance covers the gap. What it needs to cover:
There is no published Australian standard percentage for this, and any article quoting one is guessing. The sensible approach is to set the allowance with your supplier against the specific pour, because they know their own delivery increments, and to have the subgrade surveyed before you order rather than adding a bigger allowance to cover a pad nobody checked. Getting the subgrade and site preparation right before the pour removes most of the reason an allowance has to be generous.
Suppliers deliver in increments, not to three decimal places. Find out the increment before you order, because it often decides your final figure more than your allowance does.
Confirm the strength grade, slump and aggregate size at the same time as the volume. A correct volume of the wrong mix is still a failed pour.
Where the pour needs a boom pump, the volume sitting in the line has to be part of the order conversation rather than an afterthought, because how the concrete gets placed changes both the pour sequence and the volume you lose to the equipment.
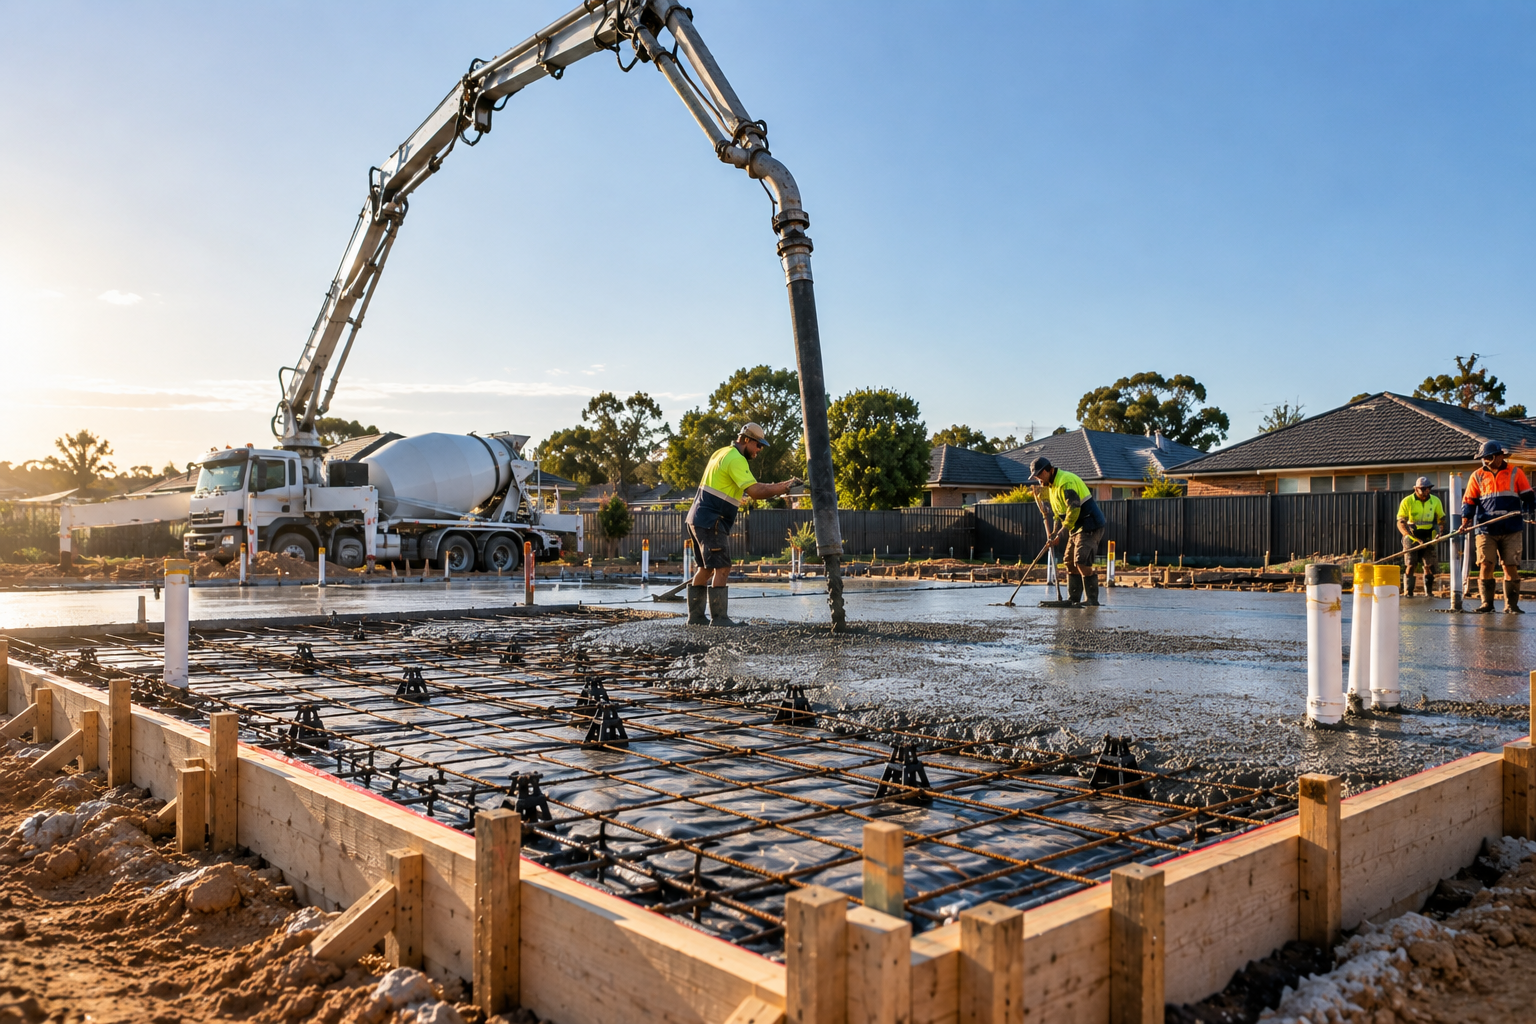
Two figures exist on every pour and they are not the same number. The theoretical volume is geometry. The delivered volume is geometry plus site reality.
Understanding which column a variance belongs in is what lets you work out whether a pour that ran over was badly calculated or badly prepared. Those have different fixes.
Multiply the slab length by the width by the thickness, with the thickness converted from millimetres to metres, which gives the volume in cubic metres. Then add the edge beams, internal beams and thickenings from the footing plan, deduct pod volume on a waffle slab, and add an allowance for subgrade tolerance, formwork deflection and pump line losses before ordering.
Cockburn Cement's published Easy Estimator puts a 20 kg concrete pack at a yield of 0.009 m³ per bag, or 110 bags per cubic metre. That figure is useful for small repairs and footing pads. For a structural slab it is academic, because the concrete is batched at a plant and delivered by the cubic metre.
It depends entirely on the barrow. Builder's barrows vary in capacity, so the honest answer is to work in cubic metres and let the supplier deliver, rather than converting to barrow loads. Wheelbarrow figures matter only for hand placement over short distances, which is not how a slab gets poured.
Volume is fixed by geometry, but cost is not. The rate moves with slab type, specified thickness, reinforcement schedule, site classification, access, excavation and whether steel supply and fixing are included. Two quotes for an identical 20 by 20 area can differ substantially on those variables alone, which is why what a concrete slab costs in Australia is a question about the specification rather than the area.
Yes, order above the theoretical volume. There is no published standard percentage, so set the allowance against the specific pour with your supplier, accounting for their delivery increment, the subgrade survey, the beam depths and whether the pour is pumped. A surveyed pad needs a smaller allowance than an assumed one.
Yes, and in the opposite direction to everything else. Pods displace concrete, so you calculate the slab envelope, deduct the pod volume from the layout drawing, then add the ribs and edge beams. Applying a flat area by thickness calculation to a waffle slab overstates the pour, sometimes significantly.
Most pours that run short were calculated correctly and prepared loosely. The arithmetic is the easy part. The beams, the pods, the subgrade and the pump line are where the variance lives, and all four are knowable before anyone orders.
Urban Pour places reinforced concrete slabs and foundations across Melbourne. If you want the slab scope checked before it goes out to price, get in touch with the footing and slab plan in hand.
Calculate concrete slab volume in cubic metres, then account for beams, thickenings, waffle pods, subgrade tolerance and pump losses before ordering.
See more
Site cut vs site benching explained for Melbourne builders, including excavation methods, safety requirements, ground conditions and what to check before earthworks begin.
See more
Compare bored piers and screw piles for Melbourne sites, including load, soil, access, spoil, cost drivers and programme.
See more