
Melbourne’s Leading Concrete Pouring Specialists
Oops! Something went wrong while submitting the form.
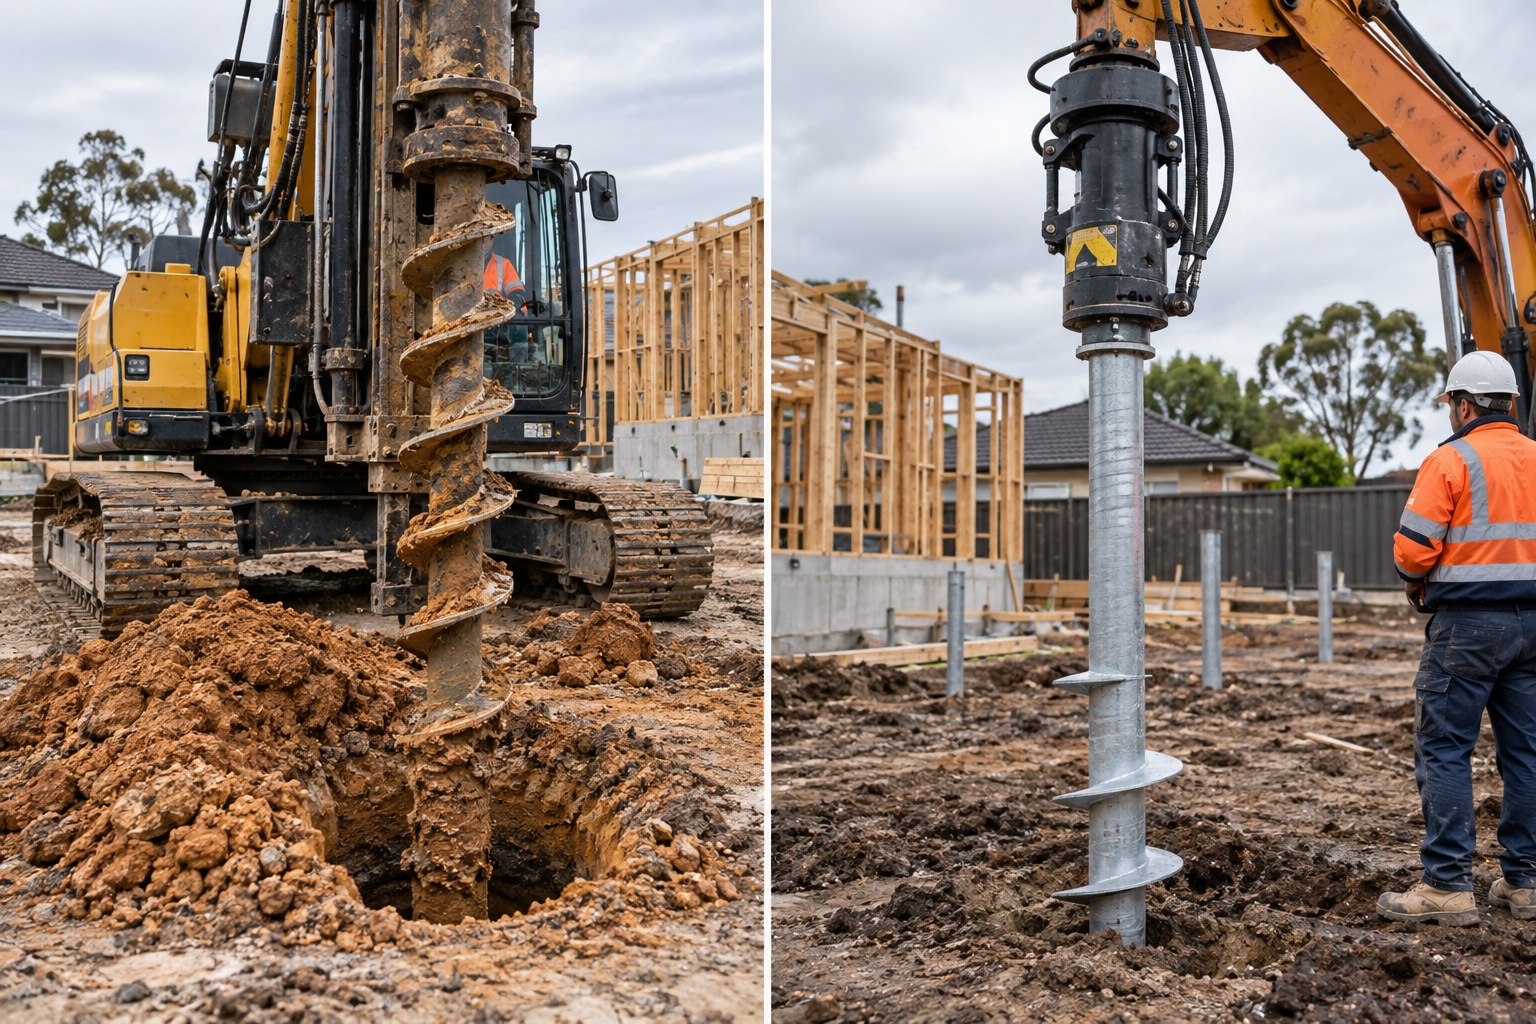
Bored piers and screw piles both carry a structure down to competent material, and the choice between them is settled by load, site classification, access and program. Bored piers are cast in situ reinforced concrete, drilled and poured on site. Screw piles are galvanised steel shafts with helical plates, wound into the ground under hydraulic torque.
Neither is universally better. This guide is written for the builder or developer holding a geotechnical report, and it covers what actually decides the method on a Melbourne site, including the factors the rest of the search results skip: site classification, spoil, and program days.
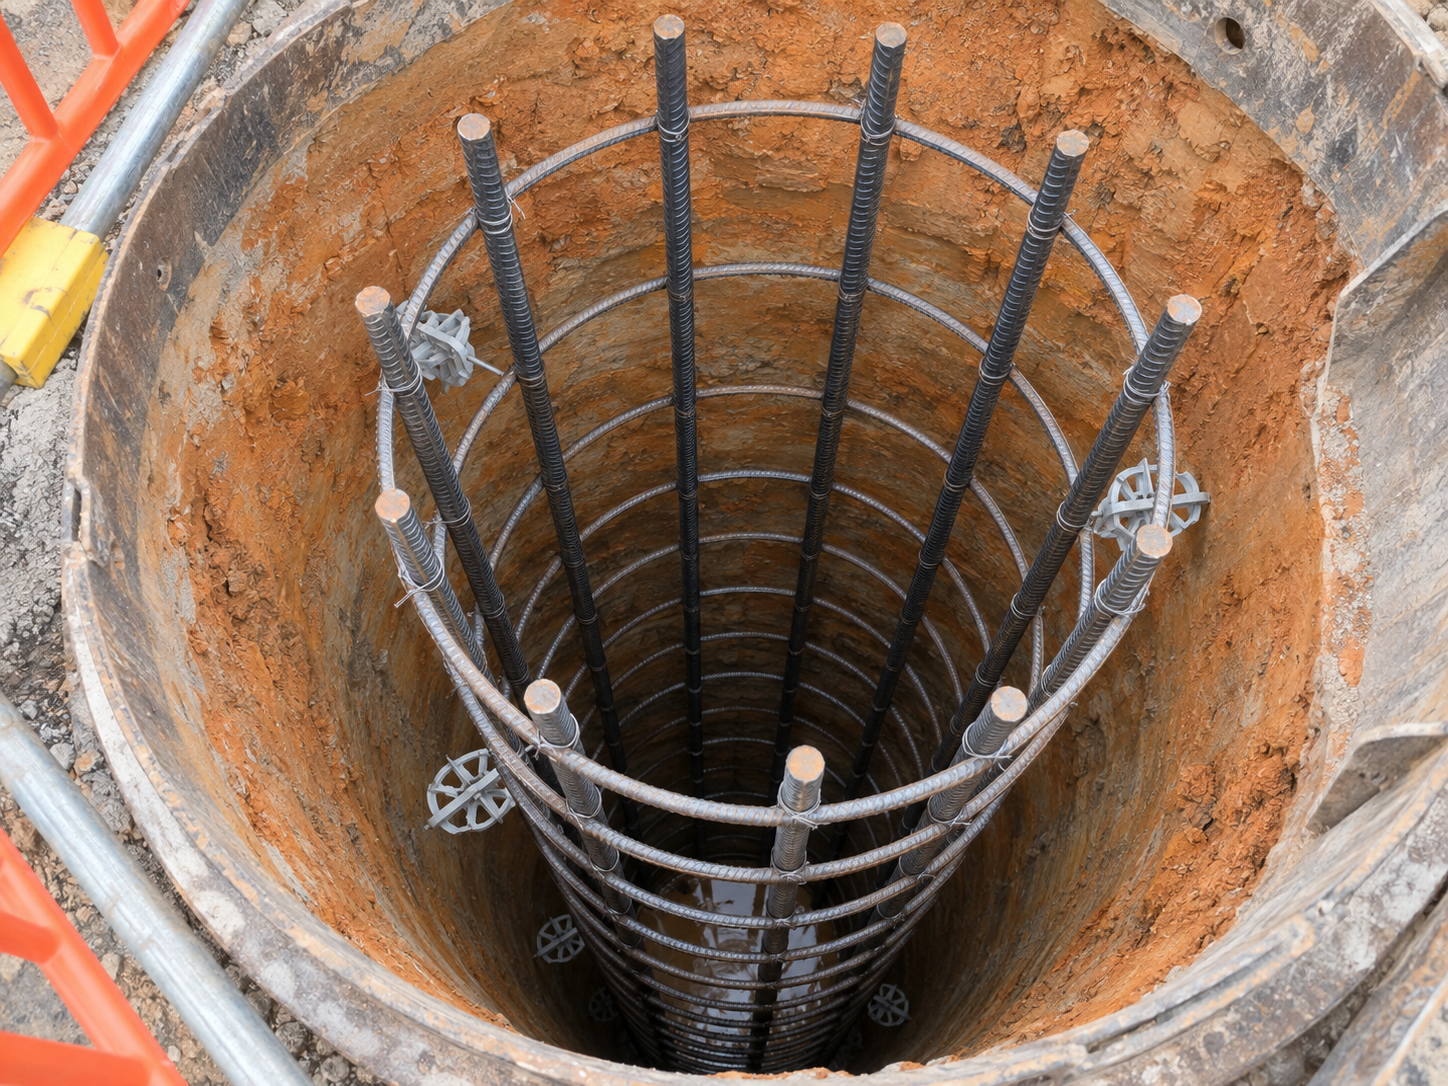
A bored pier is a reinforced concrete column cast in place in a drilled shaft. The rig augers to the specified depth, a reinforcement cage is lowered in, and concrete is placed to form a continuous pier from founding level to the pier head, where it connects to the footing, slab or capping beam above. Capacity comes from end bearing at the base, skin friction along the shaft, or both.
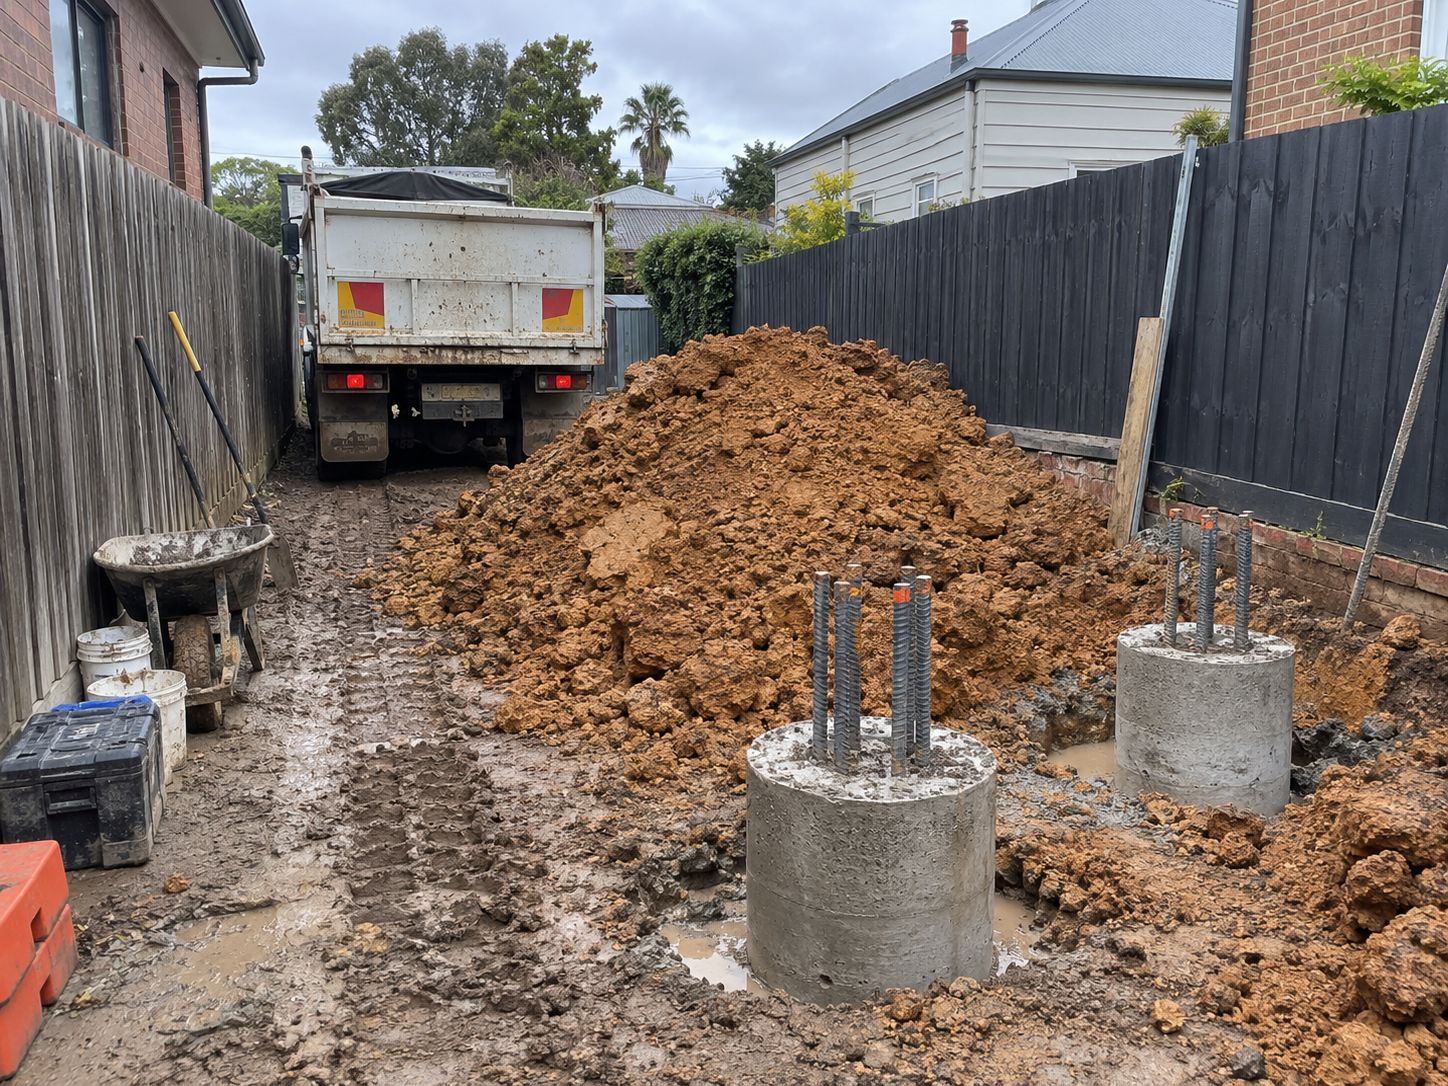
Two consequences follow from casting concrete in the ground, and both hit a build program: the pier must cure before it takes load, and the drilled material has to go somewhere. Our guide on when bored piers are the right call on a Melbourne site covers what pushes a design towards piers.
The installation sequence:
A screw pile is a galvanised steel shaft fitted with one or more helical plates, wound into the ground by a hydraulic torque head mounted on an excavator or dedicated rig. The plates pull the shaft down as they rotate, and the pile advances until installation torque reaches the value correlated to the required capacity. They are also sold as helical piles or screw piers.
What decides when a screw pile suits a site:
Urban Pour installs bored piers and structural piling. This comparison is written neutrally, and where screw piles are the better answer, that is what this article says.
The soil report classification is the input every Victorian builder already holds, and it is the sensible starting point. The Building and Plumbing Commission (Victorian Building Authority) sets out the site classification scheme used across Victoria, running from Class A, non-reactive sand and rock sites with little or no ground movement, through S for slightly reactive clay, M for moderate reactive clay or silt, H1 and H2 for highly and very highly reactive clay, E for extremely reactive, and P for soft soil, varying depths of fill and sites subject to abnormal moisture conditions.
What the classification changes:
The classification informs the conversation, it does not settle it. As the Commission puts it, an endorsed building engineer designs the footings of a house to suit the classification of the soil and likely movement. The engineer's design governs method, depth and capacity.
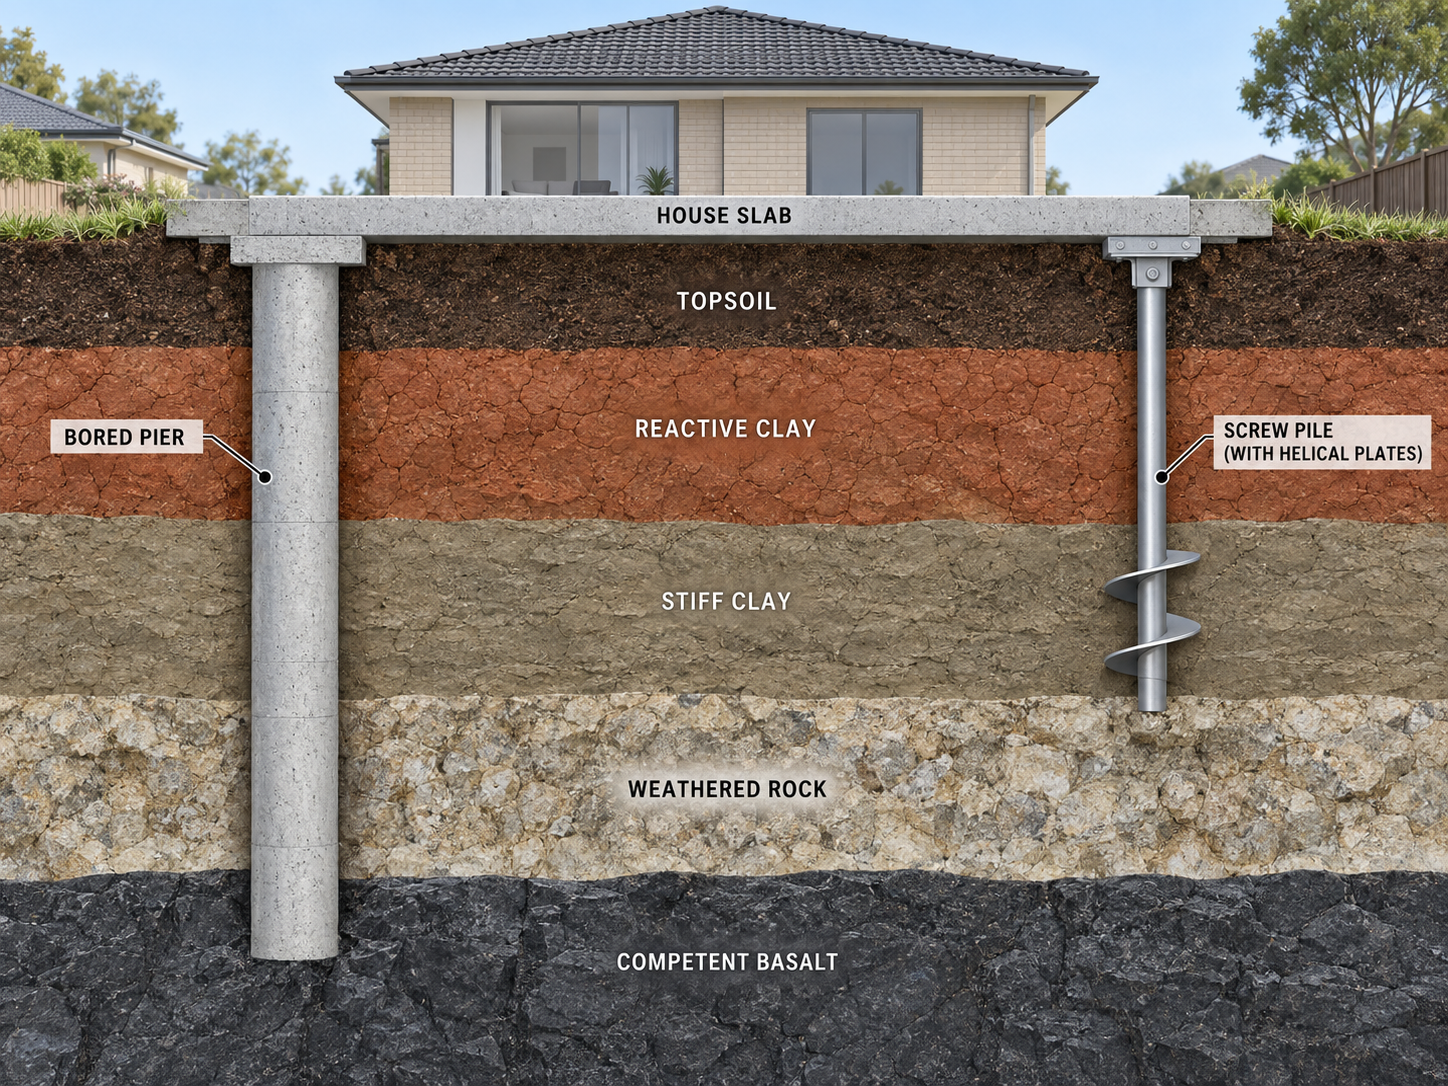
The same design brief resolves differently across Melbourne because the ground changes so much across the metropolitan area. Resources Victoria records that around 400 volcanoes produced extensive basalt flows across western Victoria, forming a veneer generally less than 50 metres thick. West and north-west of the city, competent rock can appear at workable depth, but also unpredictably as floaters and weathered zones above sound basalt.
Through the Melbourne Zone, the same source describes shallow to deep marine sedimentation continuing through the Silurian and Early Devonian, the origin of the siltstones and sandstones under much of the inner and eastern suburbs. Depth to competent material varies over short distances, so refusal risk and depth variability are worth pricing rather than assuming.
Run these in order against your site. In most cases the answer falls out in the first three.
High compressive loads and deep founding levels favour bored piers, because capacity scales with diameter and depth and a pier can be socketed into rock. Screw piles carry light to moderate loads efficiently, and heavier loads mean more piles or larger helices, which has a ceiling on a constrained footprint.
Deep reactive profiles and Class P conditions generally suit cast in situ piers, because founding material can be inspected directly at the base of an open shaft. If you are also weighing driven options, how driven piling compares with bored piers covers that side of the decision.
A piling rig needs room to track, set up and be serviced, and a bored pier also needs a concrete truck within reach or a pump set up. Low headroom, narrow side access and battle-axe blocks push towards screw piles, which install from smaller plant and extend in short sections. On infill sites this overturns more design assumptions than any other factor.
Neither method drives a pile with a hammer, so both are comparatively kind to neighbours. The adjacency question for bored piers is the open shaft and its zone of influence beside existing footings. WorkSafe Victoria's compliance code for excavation work, published 19 December 2019, sets out the duties applying to excavation and how to reduce the risk of ground collapse.
Every bored pier produces a shaft volume of spoil that must be brought up, stockpiled, classified and carted away. On a tight metropolitan site with no stockpile area, that is a logistics problem before it is a cost problem: truck movements, traffic management and disposal to a facility that accepts the classified material. Screw piles displace soil instead, so the line disappears.
This is where the word "faster" earns its meaning. A screw pile takes load as soon as it is installed and capped, so following trades proceed the same week. A bored pier requires cure before loading, so the sequence carries fixed dead time. On a staged development where pile caps, ground beams and frame queue behind the piers, those days are money.
Bored piers are what Urban Pour installs, and there are still sites where they are the wrong call:
The counter case is just as real, and worth knowing before a screw pile quote gets accepted on price alone:
Both methods are quoted, not priced from a table, and the honest answer to "which is cheaper" depends on which drivers your site activates.
Bored pier cost drivers:
Screw pile cost drivers:
The method that looks cheaper on a quote comparison is frequently not the cheaper method delivered. A screw pile solution that saves on spoil can lose the saving to pile count on a heavily loaded footprint, and a pier solution that prices well per pier can absorb the difference in truck movements. Price the whole sequence, not the pier. Urban Pour publishes no rates:
Both methods appear in underpinning and remedial work, where an existing structure is showing movement and needs new support taken down to competent material. It is a different problem from new build foundation selection, because the work happens around and under a structure that is already there, already loaded, and often already damaged.
That constraint changes what drives the method. Access beneath the existing footing, headroom, the condition of that footing, and the structure's tolerance of further movement all outrank the factors that decide a greenfield job. Underpinning is designed by an engineer against a specific structure and cause of movement, never selected from a comparison table.
The sequence on a real project is short, and the contractor is not at the top of it:
Where the design lands on cast in situ concrete, piling and bored piers in Melbourne is the work itself: drilling, cages, pours and pier heads to specification.
Get the geotechnical investigation done, let the engineer specify, then test the design against your access, spoil handling and program before pricing the job. Those three factors decide more foundation methods than any comparison table does. Urban Pour installs piling and bored piers across Melbourne. Talk to the team about your site and you will get a straight answer on whether bored piers suit it.
Neither method is reliably cheaper, and any answer offering a figure is guessing at your site. Screw piles avoid spoil disposal and cure time, two of the largest cost drivers on a bored pier job. Bored piers carry high loads with fewer elements, which wins on a heavily loaded footprint.
Refusal risk and load ceiling are the main disadvantages. A pile hitting rock or buried obstruction before design torque has not proven its capacity and needs remediation. Very high compressive loads require more piles or larger helices, which can outgrow a constrained footprint. Steel durability in aggressive ground is a further constraint.
Spoil and cure time are the main disadvantages. Every pier generates a shaft volume of material that must be classified, stockpiled and removed, which is a logistics problem on tight sites. Concrete must cure before the pier takes load, putting fixed dead time into the program.
Depth is set by the engineer against the geotechnical report and the design load, not by a rule of thumb. The pier must found in competent material and, on reactive clay sites, below the zone of seasonal moisture movement. Because that depth varies across Melbourne, neighbouring sites can carry very different pier schedules.
Yes, and slope is a common reason a design moves to piers. Piers take load through variable surface material down to consistent founding material, avoiding the differential settlement a shallow footing risks on a slope. Rig and concrete access becomes the practical question, along with any retention required during the works.
Yes. Founding material at the base of the shaft is checked against the geotechnical report, and the cage, its cover and its level are confirmed before concrete is placed. Once poured, none of it can be verified visually. Inspection requirements sit in the engineer's specification.
Compare bored piers and screw piles for Melbourne sites, including load, soil, access, spoil, cost drivers and programme.
See more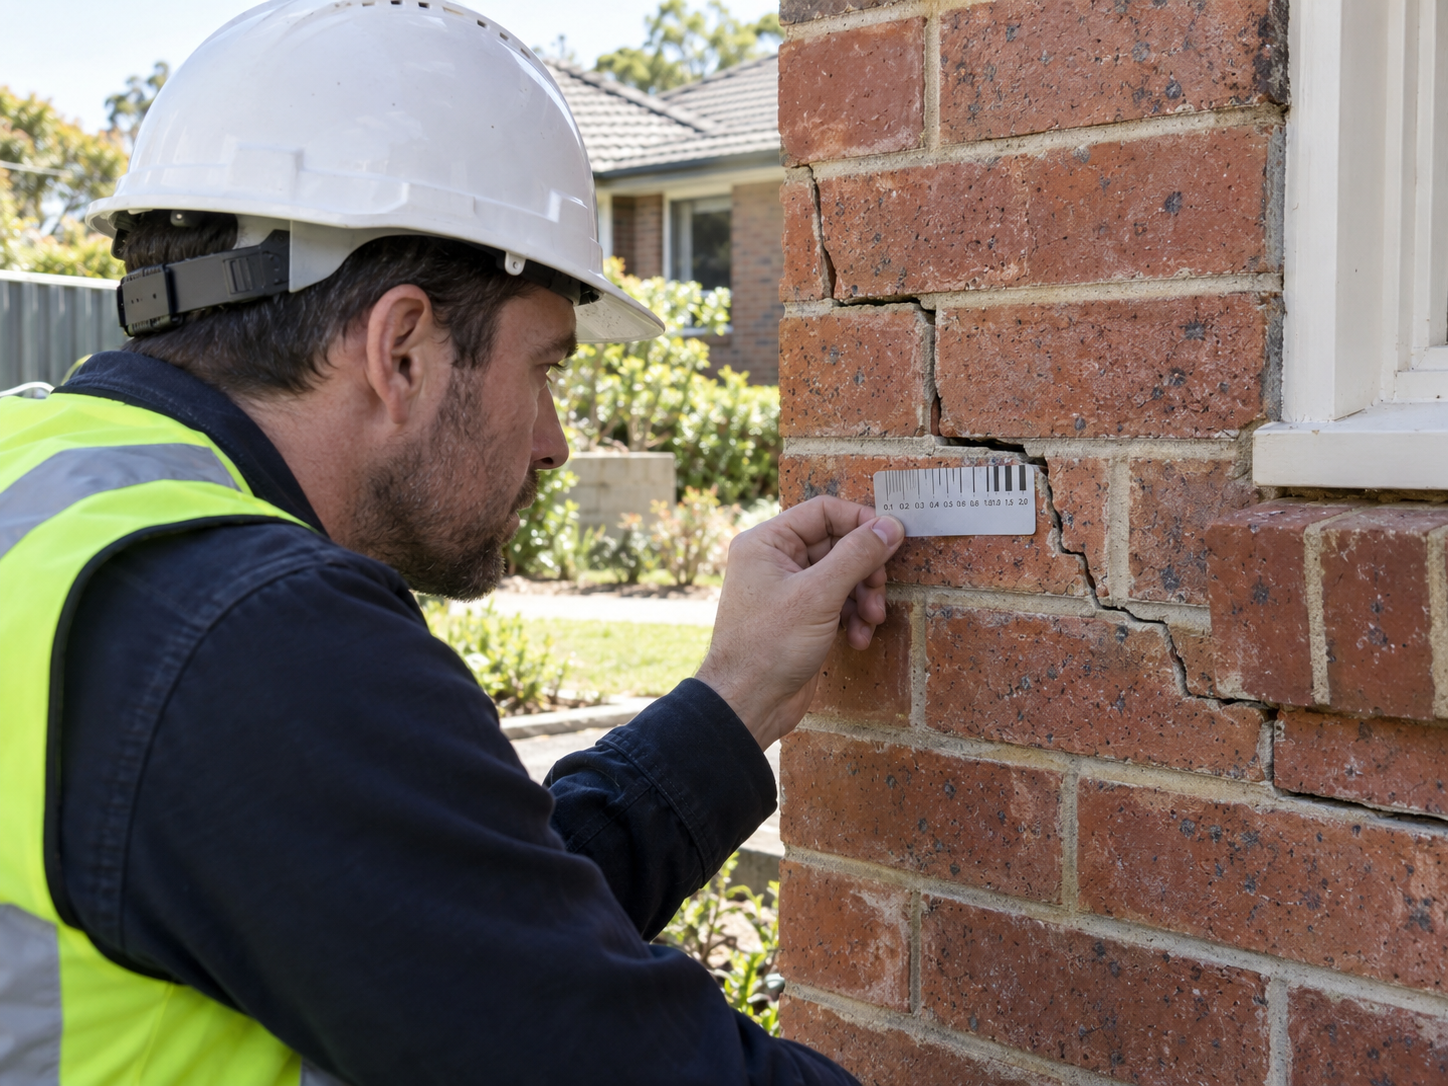
Learn when house underpinning is actually needed, what foundation cracks mean, and when movement should be assessed by an engineer.
See more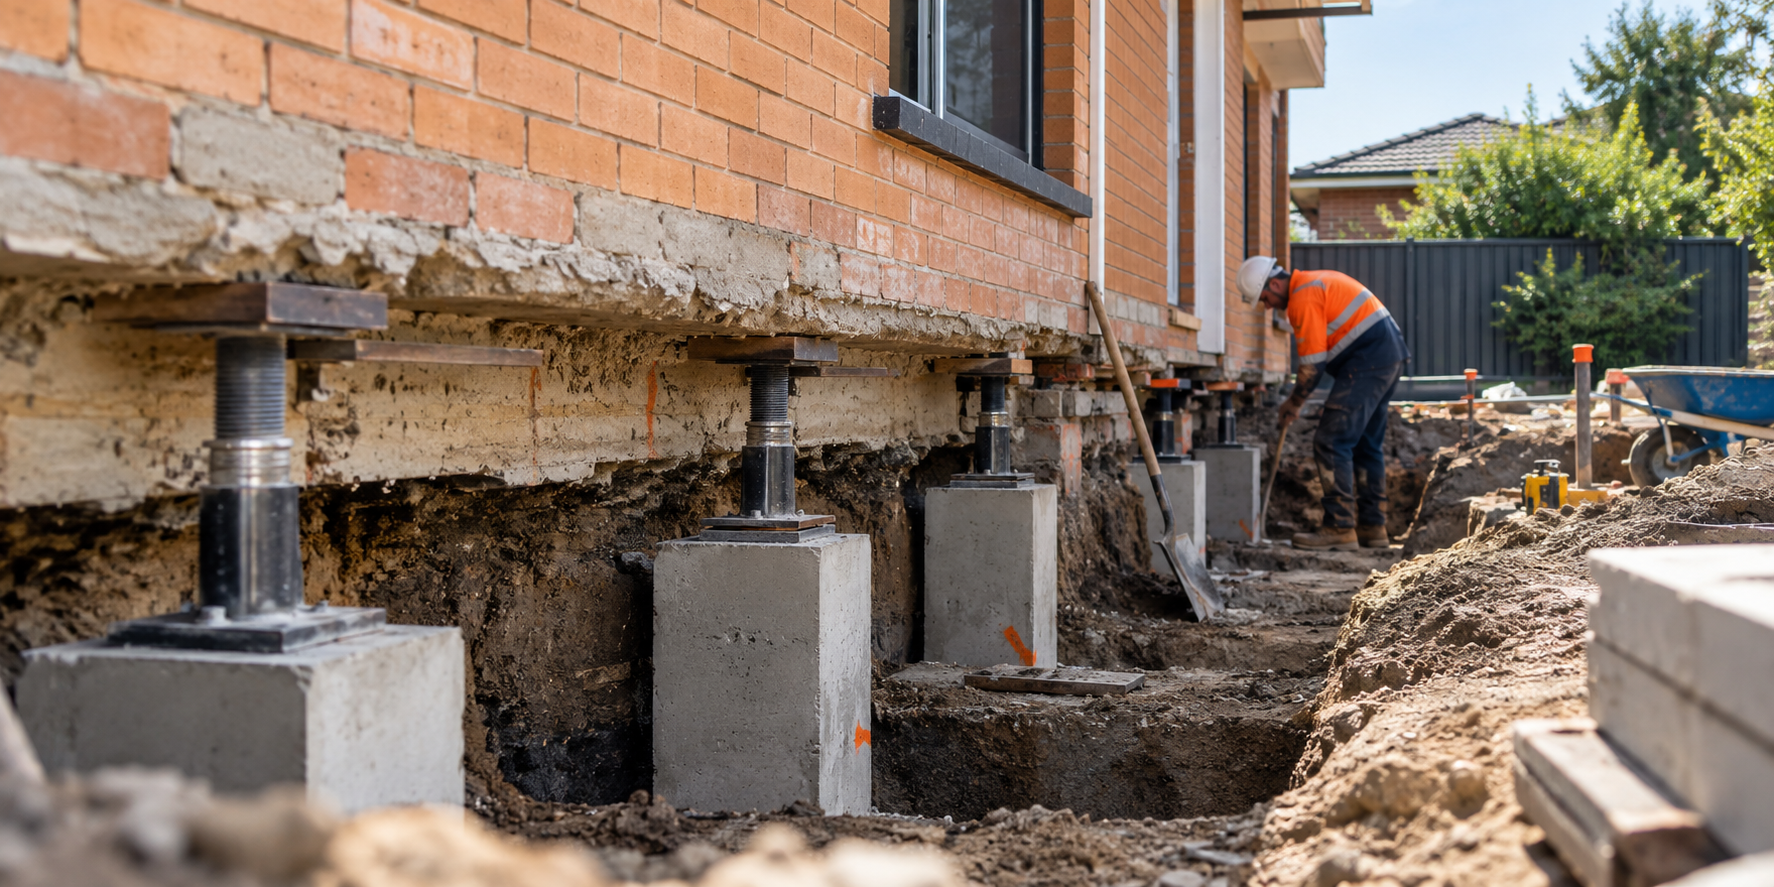
Underpinning costs vary by pier count, depth, soil conditions, access, engineering and the method required for the site.
See more